Body-fitted remeshing using implicit geometries and mmg3d#
The goal of this tutorial is to create body-fitted meshes using implicit geometries and the remeshing software mmg3d. In order to do so, we start by editing a HoneyComb.xml file
<data dim="3">
We define the honeycomb implicit geometry
<Zones>
    <Honeycomb id="1" lx="0.3" w="0.05" desc="honeycomb implicit zone "/>
</Zones>
We define the initial grid and the conformal level set
<Grids>
    <Grid id="1" n="201 51 101" origin="0. 0. 0." length="2.0 0.5 1.0" ofTetras ="True"/>
</Grids>
<LevelSets>
    <LevelSet id="1" support="1" conform="True"></LevelSet>
</LevelSets>
We define the actions to run
<Actions>
    <Action type="InitLevelset" ls="1" zone="1"/>
    <Action type="AddEdges" ls="1" ar="90+45" />
    <Action type="Remesh" ls="1" hmax=".4" hmin="0.004" hausd="0.004" iso="0.0" rmc="1e-5"" nr="True"/>
    <Action type="WriteToFile" ls="1" filename="{INPUTFILE}.xdmf" />
</Actions>
We close the xml file
</data>
Run#
To run the script using the command line application execute in a terminal
OpenPiscoCL HoneyComb.xml
To run the script using the GUI application execute in a terminal
OpenPisco HoneyComb.xml
Output#
After running the following output files have been created in the working directory
HoneyComb.xml.log : run summary
HoneyComb.xdmf : file containing the body-fitted mesh created
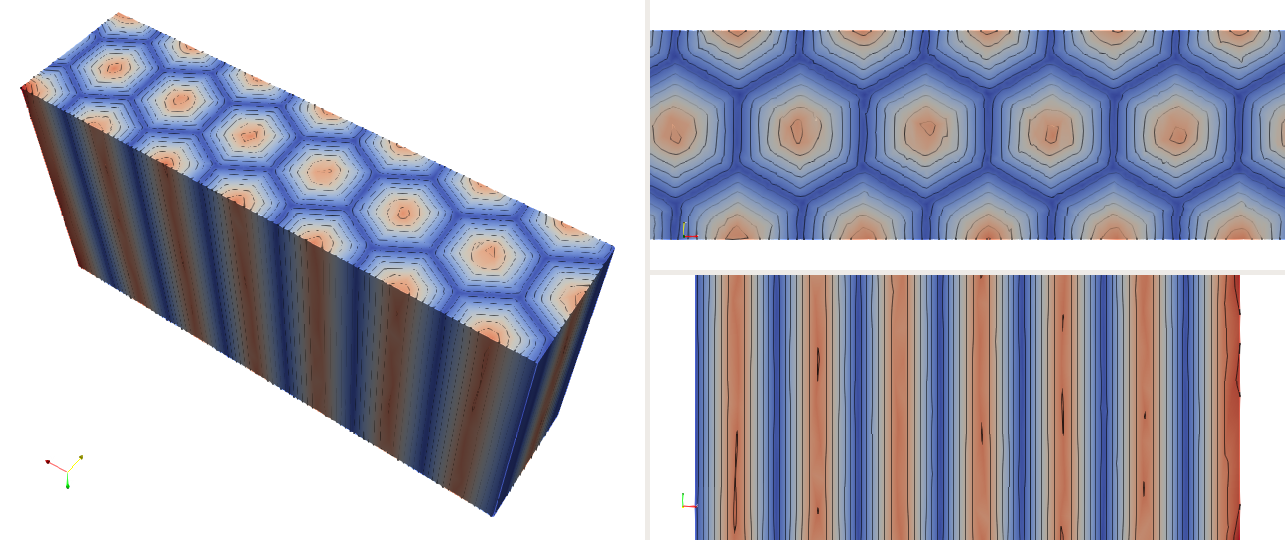
Fig. 18 Honeycomb implicit geometry#

Fig. 19 Honeycomb-shaped body-fitted mesh#
The demo xml file created is available in the module OpenPisco.Demos() of the OpenPisco Python library 1 .